I had never done any kind of hand embroidering or beading before this project. I watched a lot of videos and read through tutorials on blogs to try to understand what supplies I needed to accomplish this new-to-me technique. As usual, after hours of research I dove in and ordered what I needed. I got all of my beading supplies from Fire Mountain Gems. I purchased several hanks of glass seed beads in a gold color. These were round beads with a square cut hole that was silver lined. I thought this would provide an interesting shimmer to them. I chose Nymo brand nylon thread — in a blue color that matched the organza — and also grabbed a variety pack of hand embroidery needles.
Once I had all my supplies, I did a practice round in an embroidery hoop. I wanted to make sure my technique would work both for the beads and the beetle wings. I also attached the beetle wings in two different directions to see what I liked best.

Now that I had it all settled, it was time to work on the real thing! Yay! First order of business was getting my skirt panels prepared. The organza was fairly narrow so my floor-length half-circle skirt would not be able to be cut in one piece. I could have done it in four panels but that would have left me with a center front seam, which I did not want, so I opted for five panels: one center front, two side, and two back.
I created my pattern pieces on paper first, then pinned them to the organza with a LOT of pins since it’s such a shifty material. I then used a silk thread to thread trace the entire panel. (Working with this large frame, I needed to use a rectangular piece of fabric so it could be stretched tightly. If I had cut the shape of the panel first, I would have had some very stretched out bias seams!) Then, I lightly traced the beading pattern onto the organza with pencil. Although the frame I used is made for tambour beading (where you work from the wrong side of the fabric), I just used it as a giant frame for regular beading, so my pattern was on the right side.

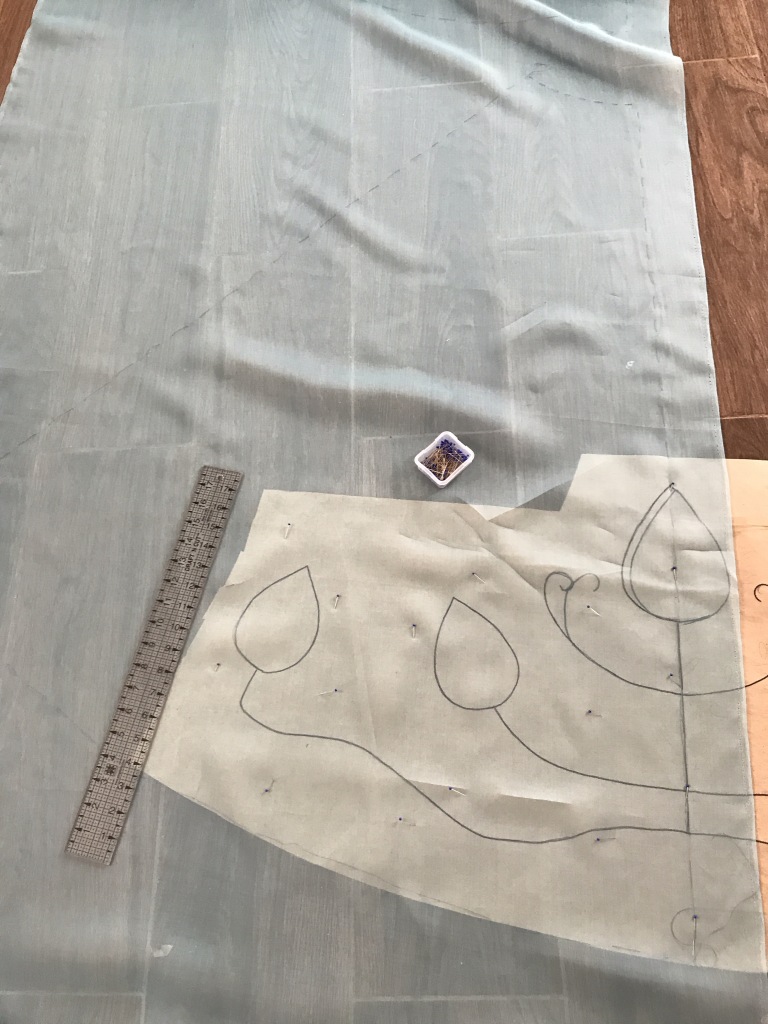
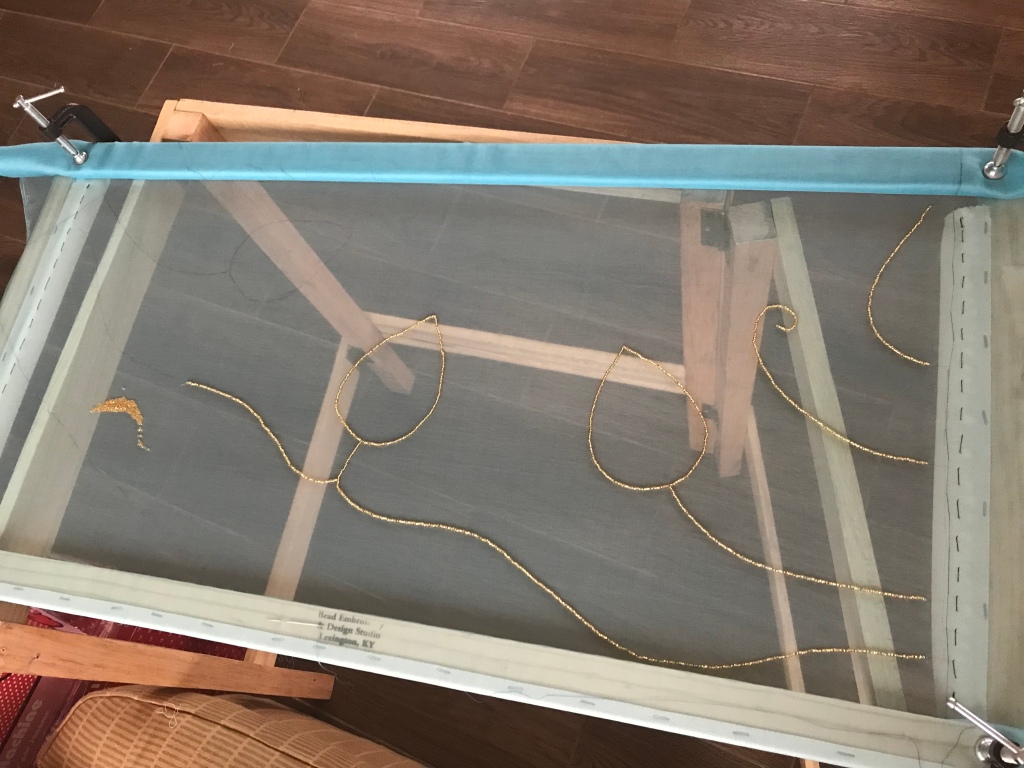
I cut wide margins around my panel tracings to accommodate the way they needed to be attached to the frame. I used Robert Haven’s YouTube videos to learn how to properly mount my fabric on the frame. You can view them here and part two here. You can watch me do it in hyperspeed below! Due to the width of my skirt panel, I had to leave some hanging over the edge and the frame was attached through part of the skirt corner at the hem. The tight weave of organza held up to it perfectly fine and I was able to use an iron with a tiny bit of steam to close up any holes left behind.
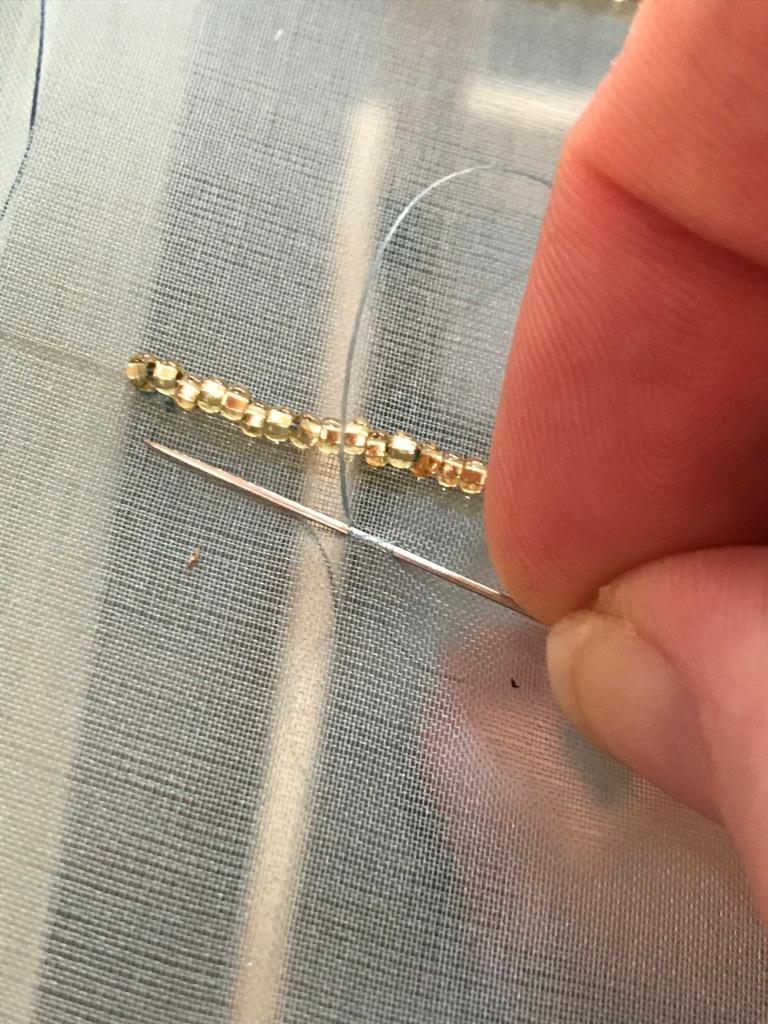
So now that my fabric was stretched on the frame, it was time for some fun! I used the Nymo thread, doubled in case one thread somehow broke, there was still another to keep the beads from falling off. I used a basic beading backstitch for all of the beading parts. On straighter sections I worked with 4-5 beads at a time and on curves only 2-3. This kept everything really secure!

Another time-lapse, this time of the beading.
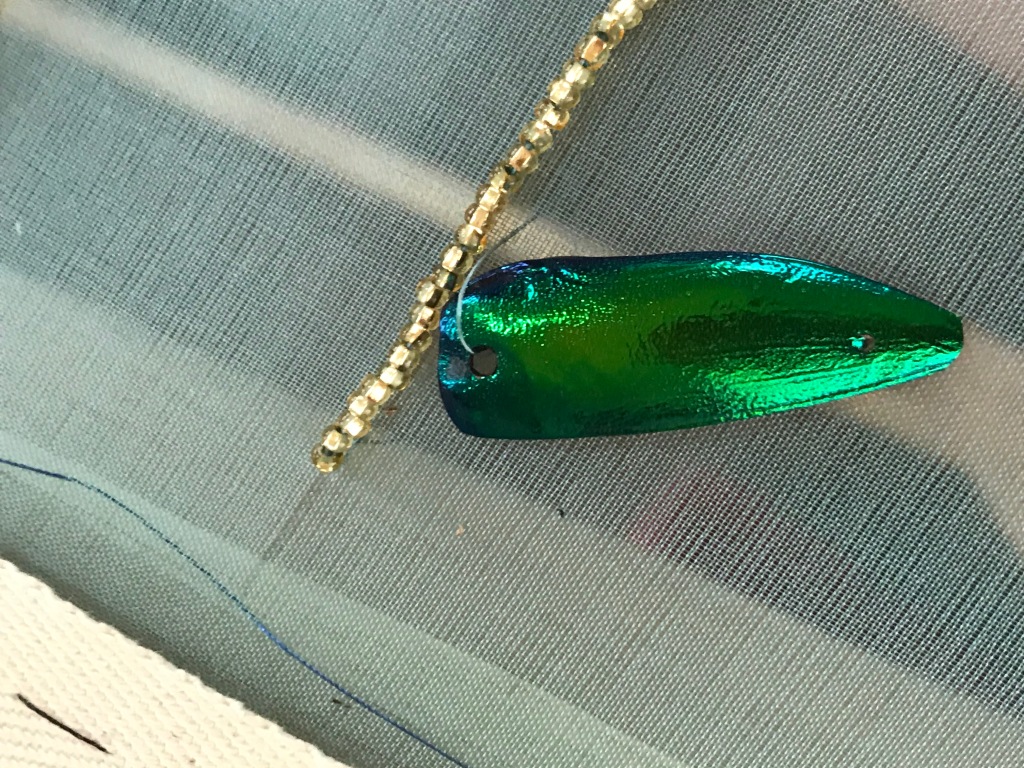
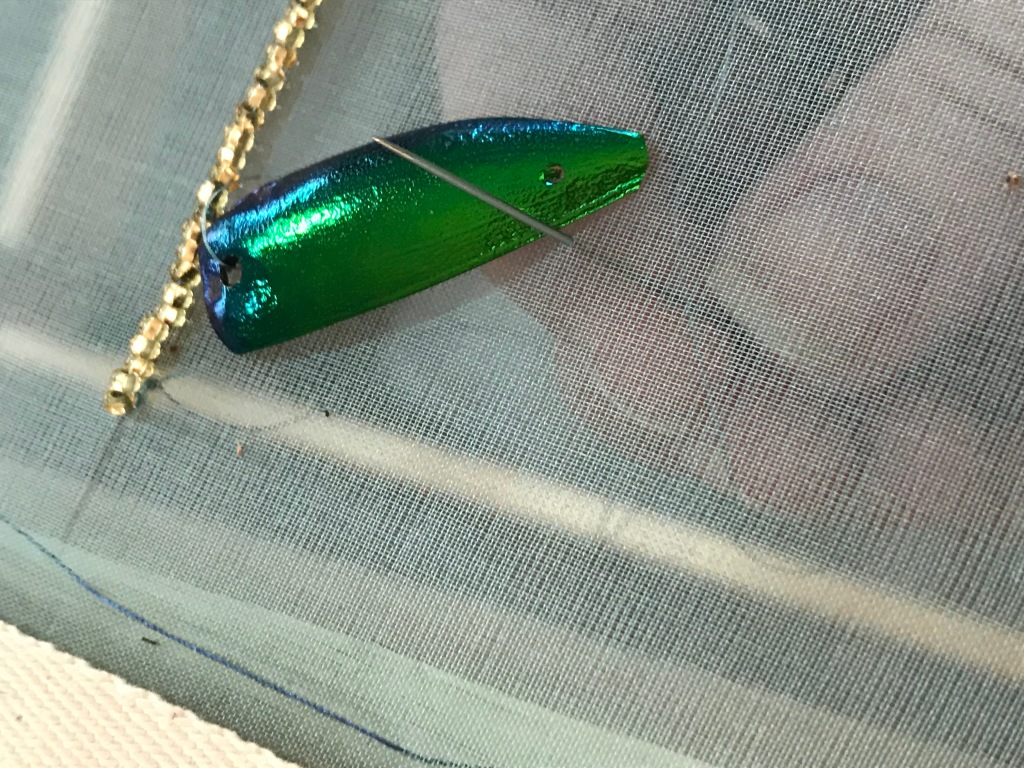
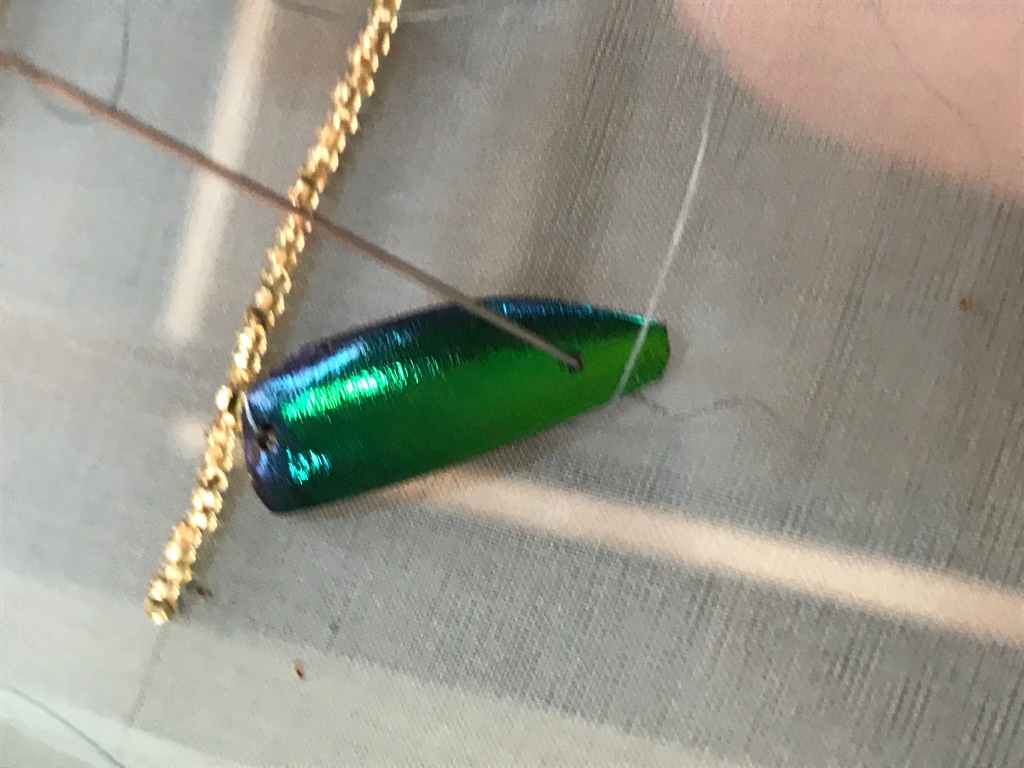
Once the gold beads were all applied to a panel, it was time to add the beetle wings. As I said before, the thread would show through if I tried to use one long thread on the wings. So I had to add each one independently. At first I tried tying off the knots with the needle tying method but the nylon thread did not hold it well. I had to leave long tails and tie them off by hand. Tedious work but worth it to not lose by beetle wings everywhere!
The next sequence of photos shows how I securely attached each wing.


This was a lot of work but once I got into a rhythm it went by quickly. I only stitched the wings in place at first, then when an entire panel was complete, I would flip it over and tie off all the ends. Here’s a look at the back before tying off.

And after tying and trimming threads:

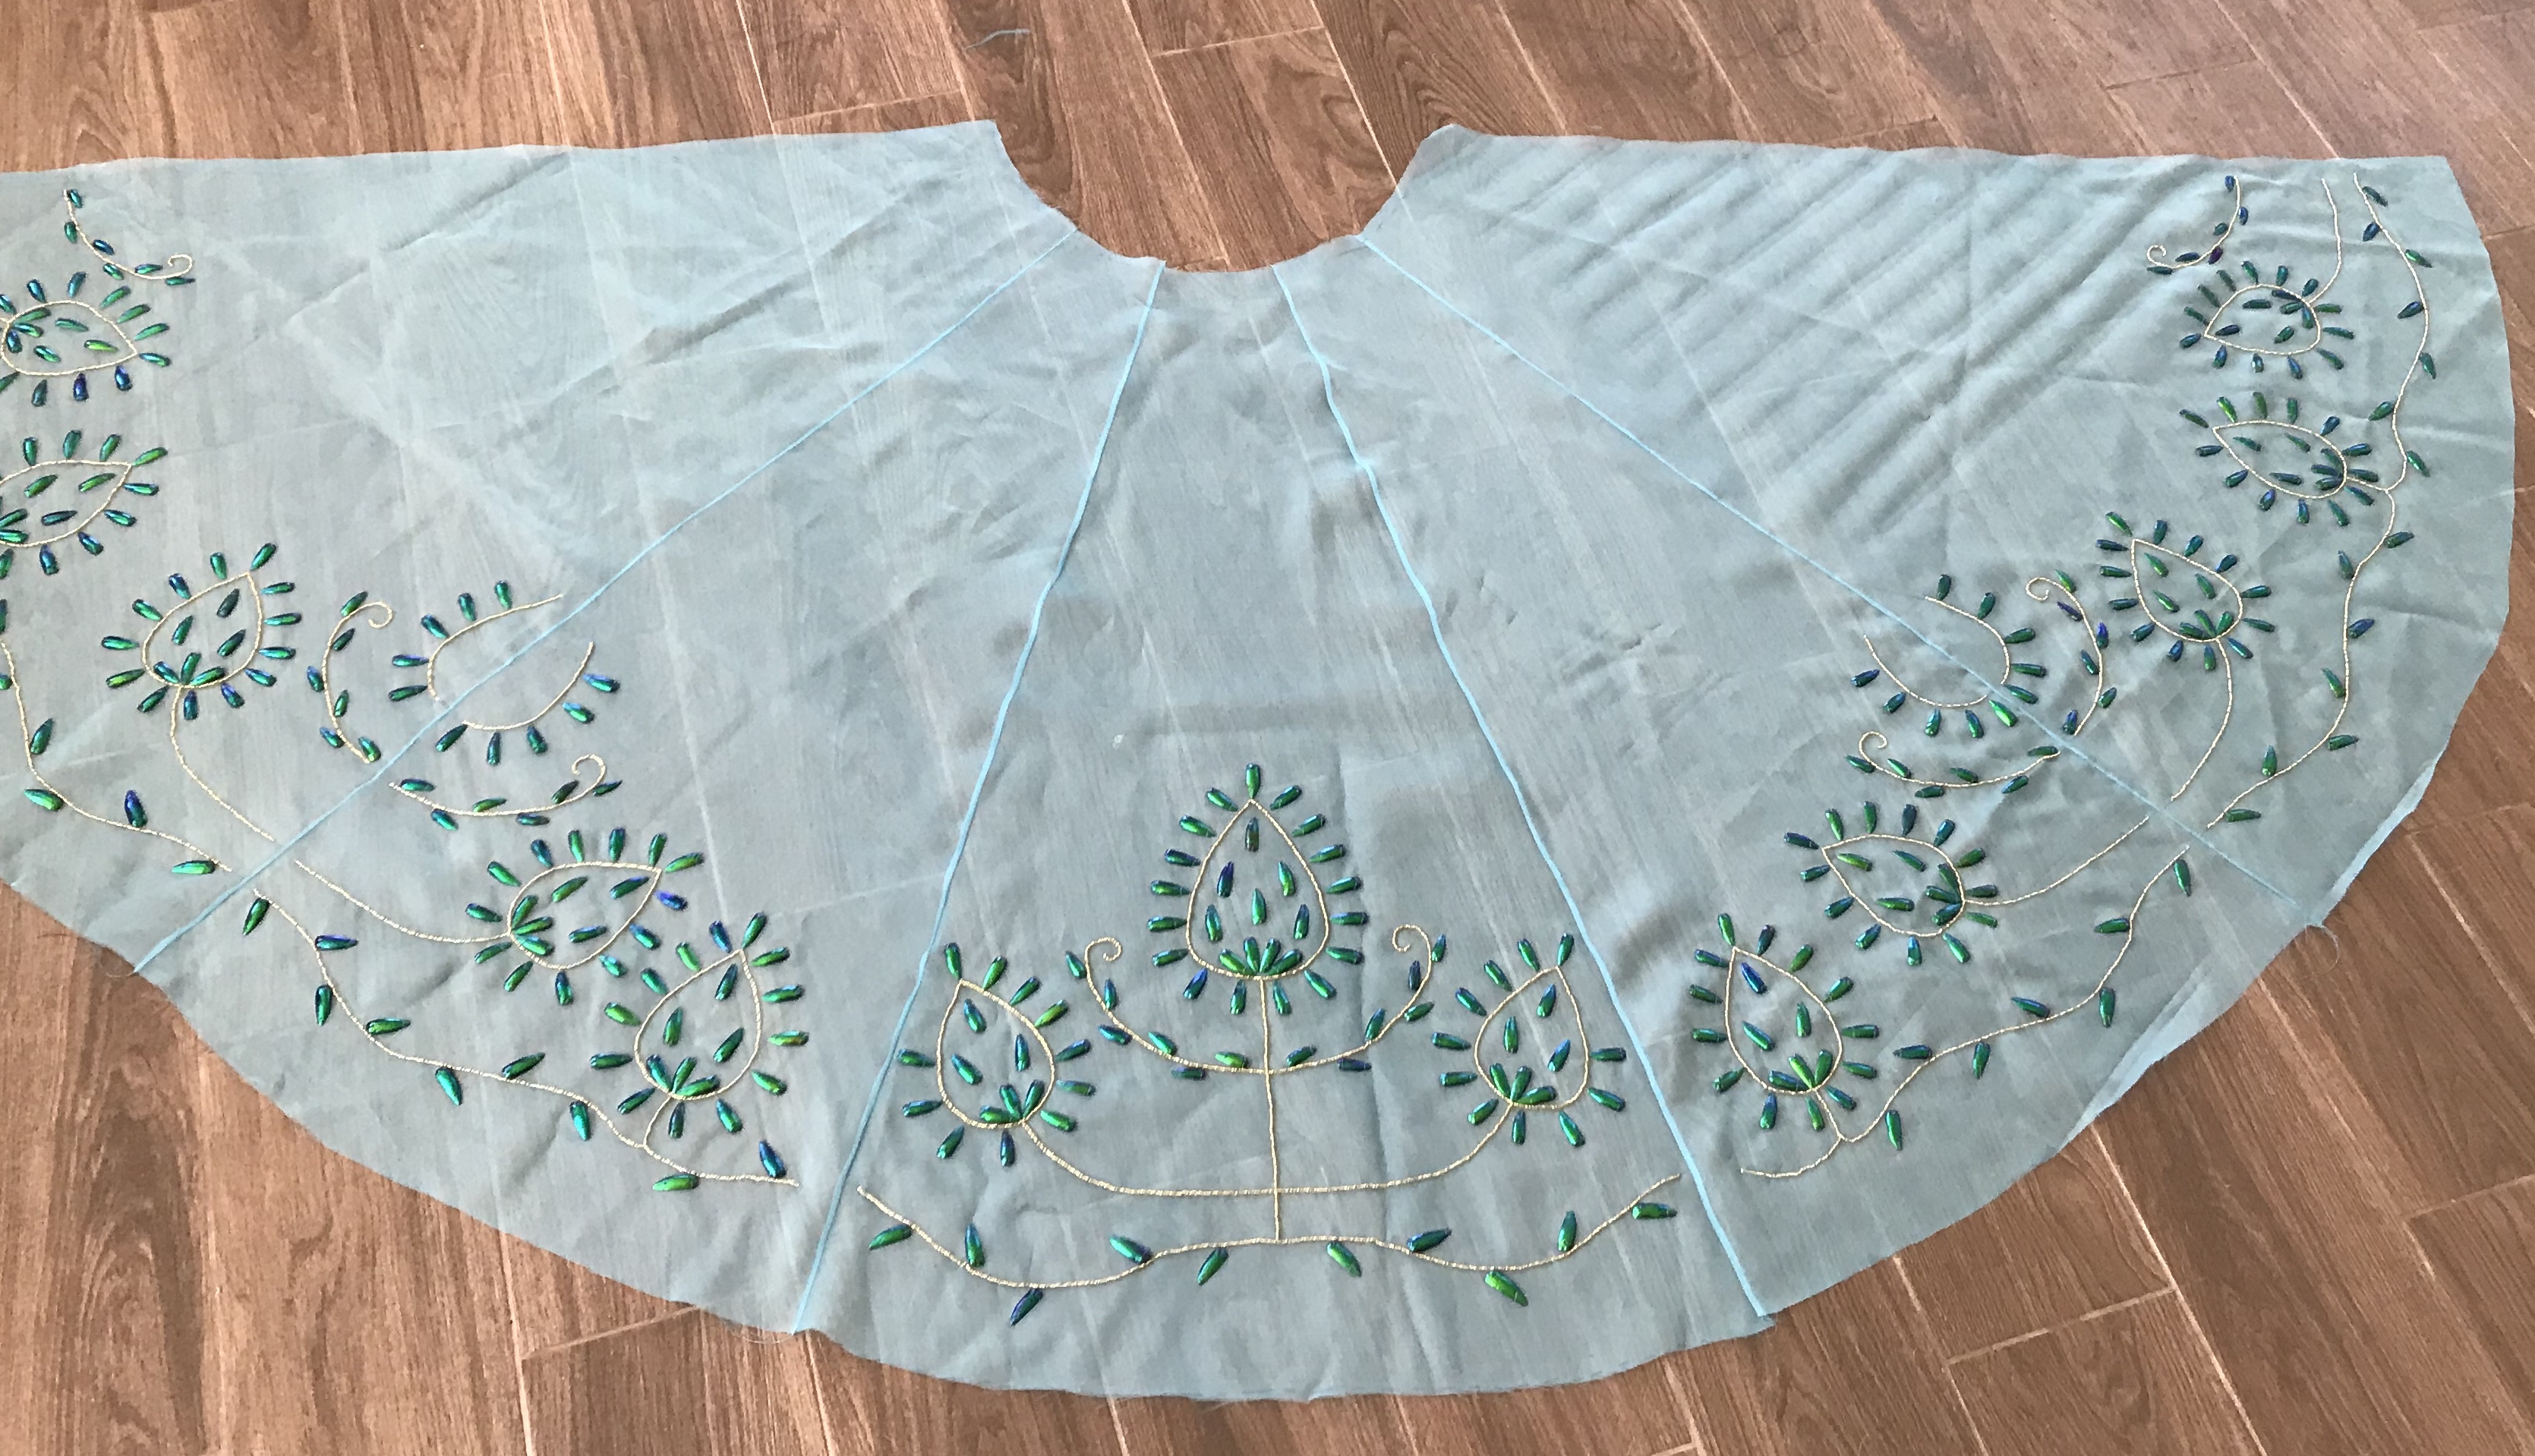
More importantly, let’s look at the front! You will notice that some areas are not fully complete. Despite the large frame size, some parts still did not quite fit in the frame. And I didn’t want to get too close to the seam allowances, to allow room for the presser foot to go by without crushing beads and wings that I worked so hard to attach! Those were completed after the skirt panels were joined.

All of these steps were repeated for each of the five panels. I then joined them with French seams and later filled in the missing beads and beetle wings.
The back of this skirt was also joined by French seams until it reached the bottom of where the zipper would be. There, the organza skirt would be open for the zipper to pass through. I didn’t want to attach it to the zipper and risk poofiness of the bum or tearing from the extra strain when sitting. So those seam allowances were turned under twice and I added small, clear plastic snaps to hold it closed when zipped.
Stay tuned for the next installment, working on the bodice!
